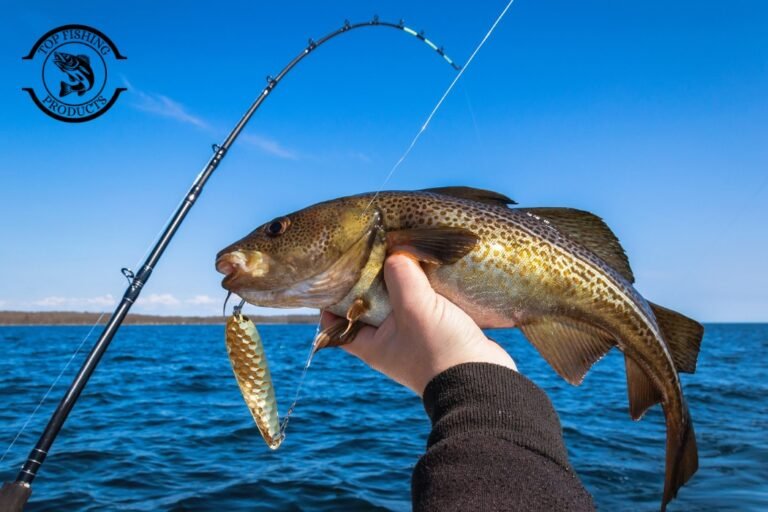
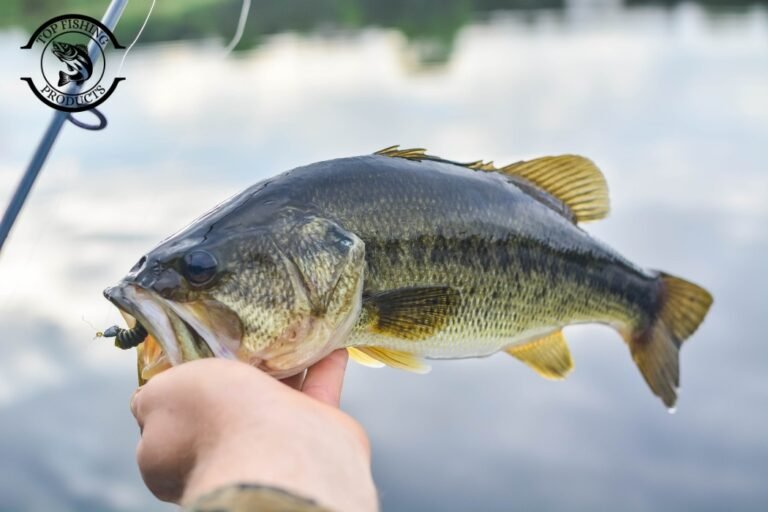
The most peaceful and satisfying outdoor activity has always been fishing. The excitement of throwing your line into the water and waiting to reel in a catch is unbeatable, whether you fish from a boat, stand on a riverbank, or sit quietly on the lakeshore. However, before you enjoy the experience, it’s important to understand how to rig a fishing rod properly, as it sets the foundation for a successful catch.
The process of properly setting up a rod with line, hook, bait, and sometimes other equipment so that you are ready for a great fishing day is known as rigging.
This technique of how to tie a fishing rig for beginners can be confusing, but it is easy and even enjoyable if you follow along step-by-step. We’ll go over everything you need to know about attaching a fishing rod in this guide. By the conclusion, you will be confident enough to properly set up your rod and be prepared for your fishing trip. Let’s explore it:
Rigging a Fishing Rod (Step-by-Step Detail)
How to set up a fishing rod with float depends on the effort you put in. It also depends on what type of fishing you are doing. We can explain the basics, which are almost always the same. Before delving into the details, let me tell you that fishing rod rigging techniques requires patience and a slow process, so you need to wait for a bite from a fish. Let’s understand the step-by-step guide that you can follow for how to set up a fishing rod:
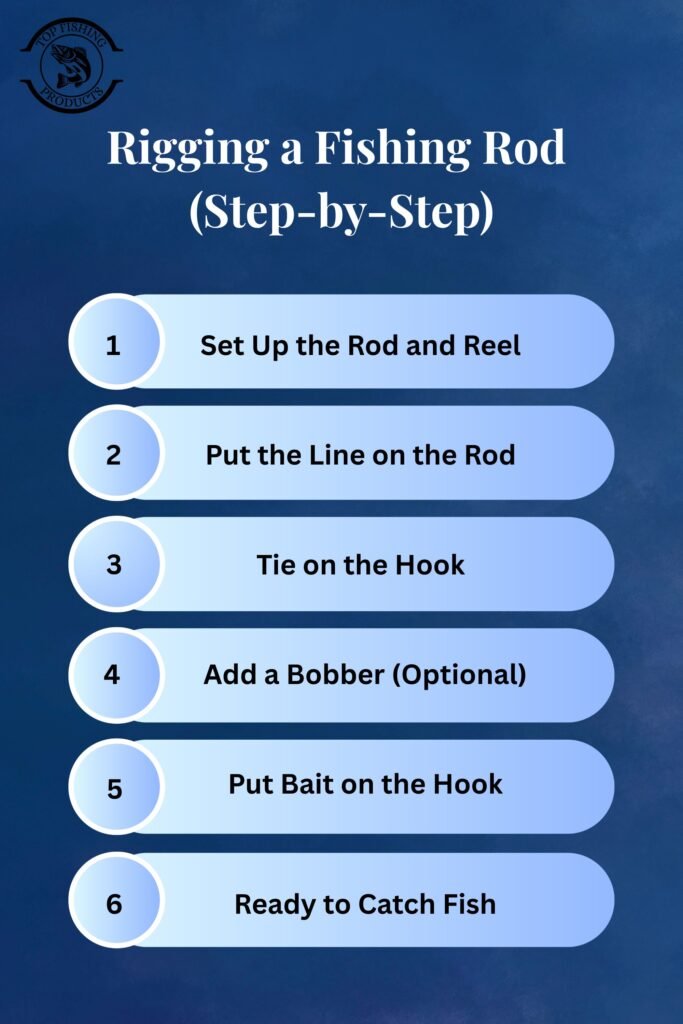
1. Set Up the Rod and Reel
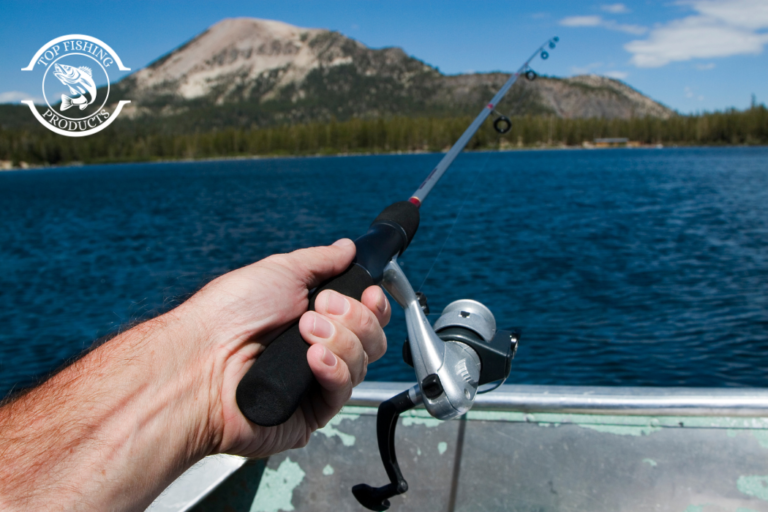
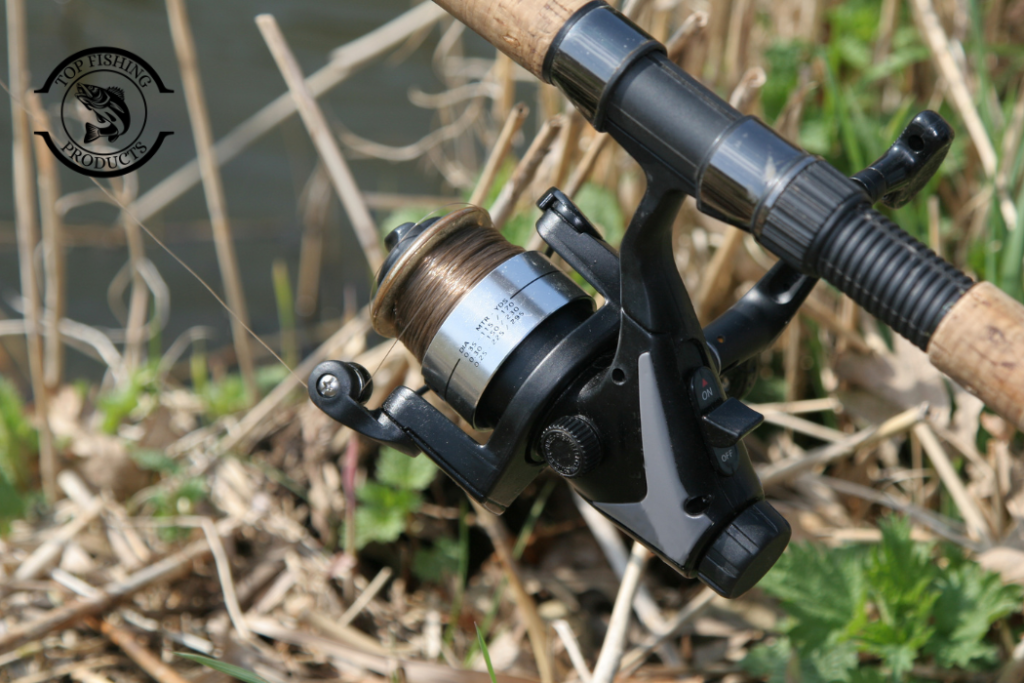
Start by putting the rod together if it’s not connected. If your fishing rod comes into more pieces than you need to connect first, it can become one long rod. Now look for the real seat (a little opening near the handle), and place your reel (the part that holds the fishing line) into the seat. Now it’s time to turn the screw part on the rod. This turning will help to lock the real tightly, and it will not wiggle. If the screw part does not lock right and you face wiggling, it will not work.
2. Put the Line on the Rod
Open the bail (bail is the little metal arm that is connected to spinning reels and can be flipped up and down). Now take the fishing line and tie it to the reel spoon. Keeping your mind that if the reel spool is empty, then you need to tie it; otherwise, not.
You can even pull out some line if it’s already filled. Close the bail again and pass the line through the small circle. Don’t worry about the small circle because it’s located on the road and you can easily see it. Start from the bottom and go up to the end.
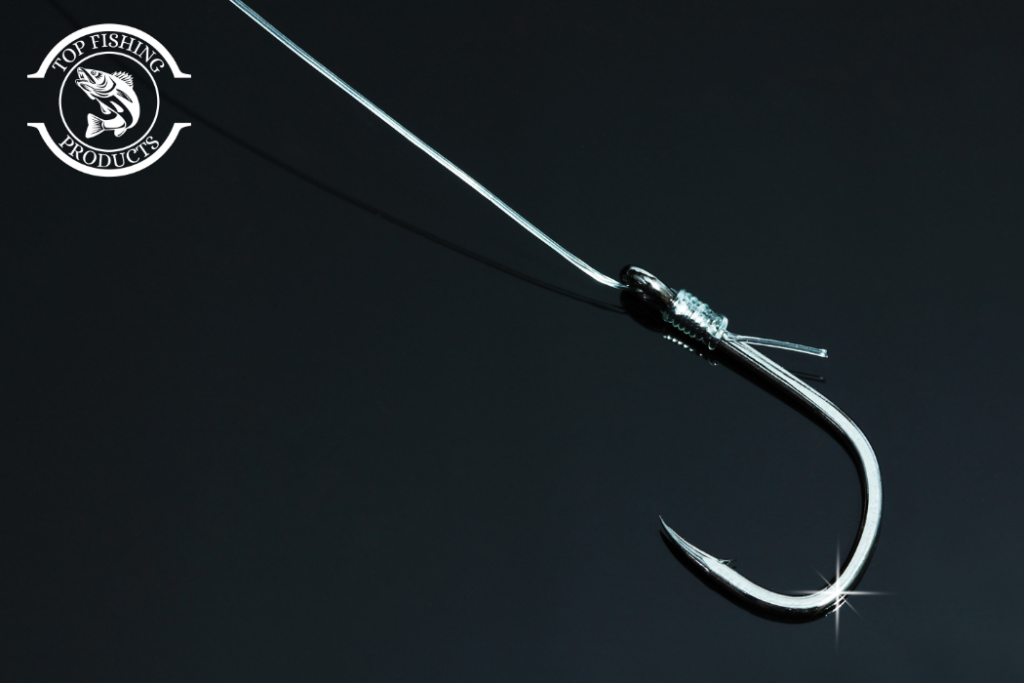
3. Tie on the Hook
At the end of your fishing line, you need to attach a hook. It can be possible, though making a knot only. The easiest knot you need to apply is on it. Here we will go with a clinch knot. Let’s tie a clinch knot:
1. Simply put the line through the eye of the hook.
2. Just wrap the loose end around the main line at least 5 to 6 times.
3. Now put the loose end through the small loop that is near the hook.
4. Pull it tight to make the knot strong.
5. At the end, you need to cut off any extra short pieces that are hanging.
4. Add a Bobber (Optional)
Adding a bobber it’s an optional process, but let me tell you how. A bobber is a floating ball that alerts you when a fish bites. To attach it, just clip it to the line 1 to 2 feet above your hook. If you want your bait deeper, then move the bobber higher on the line.
5. Put Bait on the Hook
After completing the process of rigging, you need to add a bait. A lot of people must be confused about what bait is. Bait is like a worm, a cricket, or a single piece of bread that you hang with the rod just to lure the fish. Just push the hook through the bed so it can stay secure.
Tip: Make sure the hook is sharp and still a little visible so the fish can easily get stuck with the hook.
6. Ready to Catch Fish
Now have patience and hold your rod. Open the bail and cast your line into the water. Close the bail after casting. It’s time to wait and watch the bobber because it will alarm you if any fish get stuck. It was an optional process to attach a bobber, but you don’t need to worry if you don’t have one. Whenever a fish bites the bait, you will feel a strong pull or a tug.
It means that now you can have a fish with your rod, so gently pull back to set the hook. Now reel in slowly to catch the fish. That’s how you can rig your fishing rod and catch fish successfully.
What Are Major Factors You Need to Understand?
There are a few factors that you need to consider well during your rig journey. All the equipment, guides, and basic things that you don’t need to ignore are mentioned below. Let’s understand:
1. Understanding the Parts
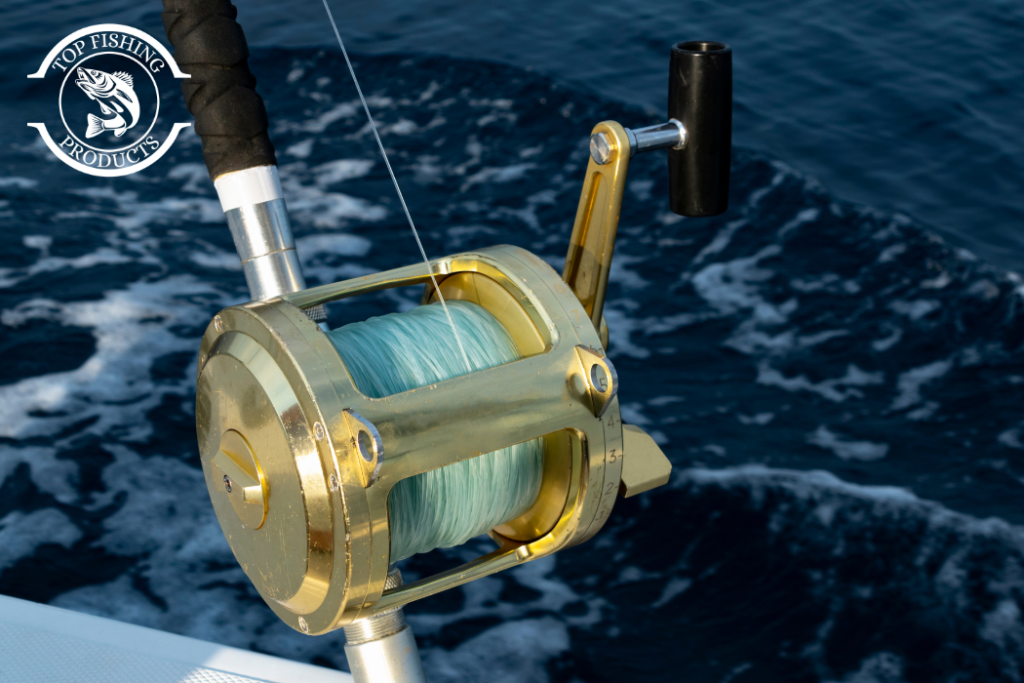
We should be aware of the parts of a fishing rod before we start rigging. The components of a standard fishing rod are the rod, the reel, the fishing line, and the guides. The small loops that are positioned along the rod to assist the line are called guides. The circular device attached to the rod where the fishing line is released or retracted is called a reel.
The fishing line is used to attach your bait or lure to the reel. Hooks, bait, or lures are then attached to the line’s terminal end to catch fish. Knowing these components enables you to fully understand their respective uses when rigging your rod. It’s similar to putting together a puzzle where each component has a different purpose.
2. Choosing the Right Equipment
Having the right gear is also essential to correctly rigging a fishing rod. There are so many different types of fishing rods, reels, and lines that it would be difficult for a beginner. The simplest spinning rod and reel is usually the finest choice for a beginner.
Beginners frequently use spinning reels since they are easier to control and don’t require complex strategies. Additionally, there are several types of fishing line, such as braided line, fluorocarbon, and monofilament.
Because monofilament is forgiving and flexible, it is usually the easiest for beginners to use. The kind of fish you hope to capture should also influence the choice of hooks and baits. Big hooks are necessary for greater catches, whereas little hooks work well for small fish. Having the proper equipment will improve the rigging procedure and increase your chances of success once you start fishing.
3. Getting the Reel Set Up
Mounting the reel onto your fishing rod is the first step in rigging it. The handle end of the majority of rods has a reel seat. To ensure that the reel is securely in place, insert the reel foot into the seat and tighten the lock. Although it might not seem like much, the previous step is really important because a loose reel can affect your casting and potentially come loose while you’re fishing.
Make sure the handle is on the side you are most comfortable with once the reel is adjusted. You should probably reel with your left hand while holding the rod in your right if you are a right-handed person, and vice versa if you are a left-handed person.
4. Adding the Fishing Line
The fishing line must then be installed after the reel has been set up. The small wire that opens up to let the line go freely is called the bail arm of the reel. Start by opening it. Thread the line through the small opening on the reel’s spool and knot it in place. After that, close the bail arm.
The fishing line should then be passed through each guide as it moves down the rod, starting near the bottom near the reel and working its way up to the tip. When you cast or bring the line in, this keeps it in line and lets it move freely. Maintaining the line’s tension and preventing it from twisting is important while spooling it onto the reel. Incorrect casting and tangles will arise from twisting the line.
5. Attaching the Hook and Bait
Attaching a hook is the next step after getting your reel and rod ready with fishing line. Tie the hook securely in place with a strong knot at the end of the line. The enhanced clinch knot is among the easiest knots for beginners.
This knot is simple to master and holds the hook securely. You can attach the hook and then attach bait. Live worms, insects, small fish, or artificial plastic or metal attractants are examples of bait.
Worms are a conventional choice for freshwater fishing. Artificial lures that duplicate the flow of food might be a good option if you want to capture large fish. The bait’s attachment method is also important. Pass the hook through a portion of the body of live bait, like worms, to make it look natural while allowing it to move freely in the water.
6. Adding Weights and Bobbers
Sometimes you’ll also need additional equipment, such as brushes and weights, for your line. Your bait sinks to the level where the fish are, thanks to weights, sometimes known as sinkers. These are little metal pieces that are placed just above the hook.

Small, round or oval objects that bob on the water’s surface are called bobbers or floats. They do two things. In addition to keeping your bait at the proper depth, they also let you know whether a fish is biting. The bobber will be moved or sink if a fish bites on your bait, indicating that you need to reel it in.
7. Checking the Setup
Check your entire setup after you’ve attached the hook, bait, and any other necessary equipment. Verify that the rod, reel, and line are all securely fastened. To check if the knots hold securely, try gently pushing on the line.
Additionally, ensure that there are no tangles in the line as it passes through the guides. Making this quick inspection before you go fishing will save you trouble later. Losing a fish because the line was not tied correctly or the reel was not set up correctly is inconvenient.
8. Practicing Casting
The last step before going fishing is to practice your cast after your fishing rod has been rigged. To release the line, stand in a clear space, hold the rod securely, open the bail arm, and swing the rod forward. Your bait will go into the water as a result. Close the bail arm after casting, then carefully reel in.
Your throws might not go very far at first, but you’ll get better the more you use them. Just as important as properly rigging your rod is casting with precision and smoothness. A good cast places your bait precisely where the fish are most likely to take it.
9. Building Confidence with Practice
Remember that “practice makes perfect,” even though rigging a fishing rod may seem difficult the first time you try it. You will become faster and more proficient with your rod the more you rig it. Make sure your pole is ready by taking a moment to set it up before each fishing trip. The procedure will soon become simple.
Common Mistakes Beginners Should Avoid
The majority of beginners make simple mistakes when putting up their rods, but being aware of them can help you avoid trouble. Overloading the reel with line is a common mistake that results in tangles. Using faulty knots that are at risk of loosening is another mistake.
Furthermore, beginners frequently forget to check their setup, which leads to problems when fishing. Don’t rush the rigging process, instead, take your time. Think of rigging your rod as an experience because fishing is meant to be fun and laid back.
Wrapping Up
The secret of how to rig a fishing rod is proper fishing rod setup. It could seem difficult to inexperienced fishermen, but after you understand the components of the rod, choose the right equipment, and get comfortable with the fundamental procedures, you will discover that it is easy and worthwhile. Every action you take, from setting up your reel and spooling the line to attaching hooks, baiting up, and practicing your cast, helps you catch fish.
The experience of fishing is just as important as the catch. You may enjoy fishing to the fullest without unnecessary bother if you know how to properly set up your fishing rod. You will soon realize that setting up your rod is simple and that you can focus on enjoying the experience of being on the water with patience and practice.
Frequently Asked Questions:
How long does it take to rig a fishing rod for the first time?
For beginners, it may take around fifteen to twenty minutes the first time because each step feels new. With practice, you can reduce that time to just a few minutes.
Do I need special tools to rig a fishing rod?
Most of the time, you do not need special tools. Your hands are usually enough for tying knots and attaching hooks or bait.
What is the best knot for beginners to learn?
The improved clinch knot is one of the best for beginners. It is easy to tie, strong, and reliable. Once you become more confident, you can explore other knots like the Palomar knot or the loop knot.
How do I know how much fishing line to put on the reel?
Your reel usually has information printed on it about the amount of line it can hold. As a general rule, fill the spool until it is about one eighth of an inch below the edge.
Can I use the same rig for different types of fish?
You can use the same basic rig for many kinds of fish, especially smaller species. However, if you plan to catch larger fish, you may need stronger hooks, heavier line, and sometimes different bait.