Respooling a fishing reel sounds hard when you try it the first time. But the truth is that anyone can do it with a little practice. You only need simple tools and a few clear steps. This guide explains how to respool a fishing reel in very easy words so even beginners can understand. You do not need special skills—only patience and the right way to follow each step. Let’s explore:
What Does Respooling a Fishing Reel Mean
Respooling means taking off the old fishing line and putting a new one on the reel. It is a simple process, but you must do it the right way. If you do it wrong the line can twist or tangle when you cast. Good respooling makes your fishing smooth and stress free. Every type of reel needs respooling after some time. Sun, water and use all make the line weak.
Many beginners worry about damaging the reel. But respooling does not harm your reel at all. In fact, it helps your reel work better. Fresh line moves easily and does not break fast. It also holds knots in a stronger way. You only need a few minutes to do it. Once you learn the basics you can do it alone.
Why You Should Respool Your Reel
You must replace your line because old line becomes weak and unsafe. When line sits in the sun or water it starts to lose strength. It gets small cracks you cannot see. These cracks make the line break when you catch a fish. This is why many beginners lose fish without knowing the cause. New line removes this problem.
Another reason is line memory. When line sits on the reel for months it takes the shape of the spool. This creates loops that pop out when you cast. These loops cause knots and tangles. New line flows smooth and straight. It helps you cast farther and with more control. If you fish often you should respool more often.
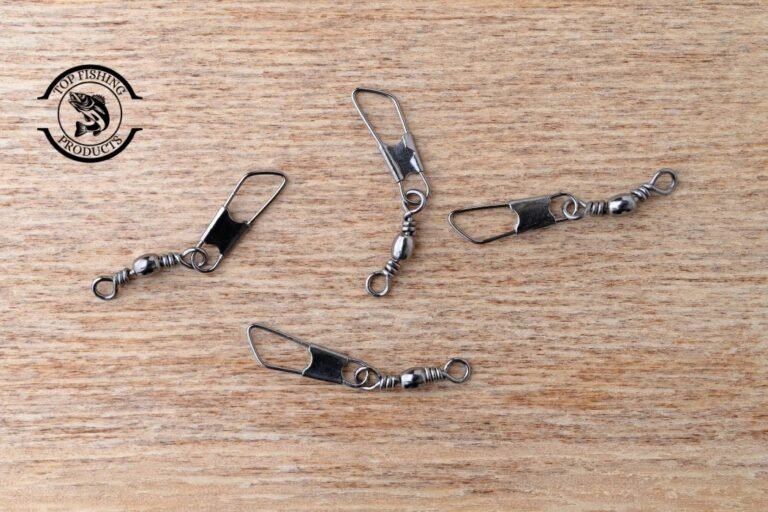
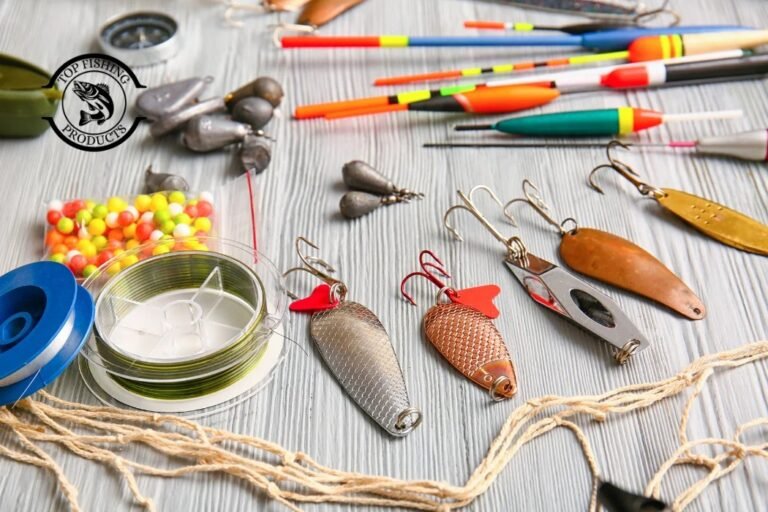
Tools You Need Before You Start
You only need simple things to respool a fishing reel. You need your reel, a new line, and scissors. These three items are the most important. You can also use a damp cloth to hold the line while winding. This helps you keep steady tension. Some people use a pencil or a small tool to hold the line spool. This helps keep the new line steady.
You do not need expensive equipment. Even beginners can do it with the tools found at home. A small towel or sponge is also useful to create pressure on the line. If you have someone to help you, the process becomes even easier. But you can also do it alone.
Remove the Old Fishing Line
Start by taking off the old line from your reel. Open the reel and begin pulling the line out slowly. Do not rush this step. Old line can be tangled inside. Pull it out until the spool is completely empty. Make sure you cut the line near the end so it comes off clean.
After removing the line you must clean the spool. Use a damp cloth to wipe the dust. This step is important because dirt can affect how the new line sits on the spool. A clean spool helps the new line wind smoothly. Take a few seconds to do this right.
Tie the New Line to the Reel Spool
Now take the end of your new fishing line. If the reel is already on the rod, run the line through every rod guide. Bring the line down to the spool. Tie it to the spool using an arbor knot. This knot is simple and strong. It holds the line firmly in place. Make sure the knot is tight so it does not slip.

After tying the knot, cut off the extra loose line. This makes the start neat. Check the knot again to be sure it is secure. This knot is the base of your whole spool. If it is weak the entire spool can slip. So take your time with this step.
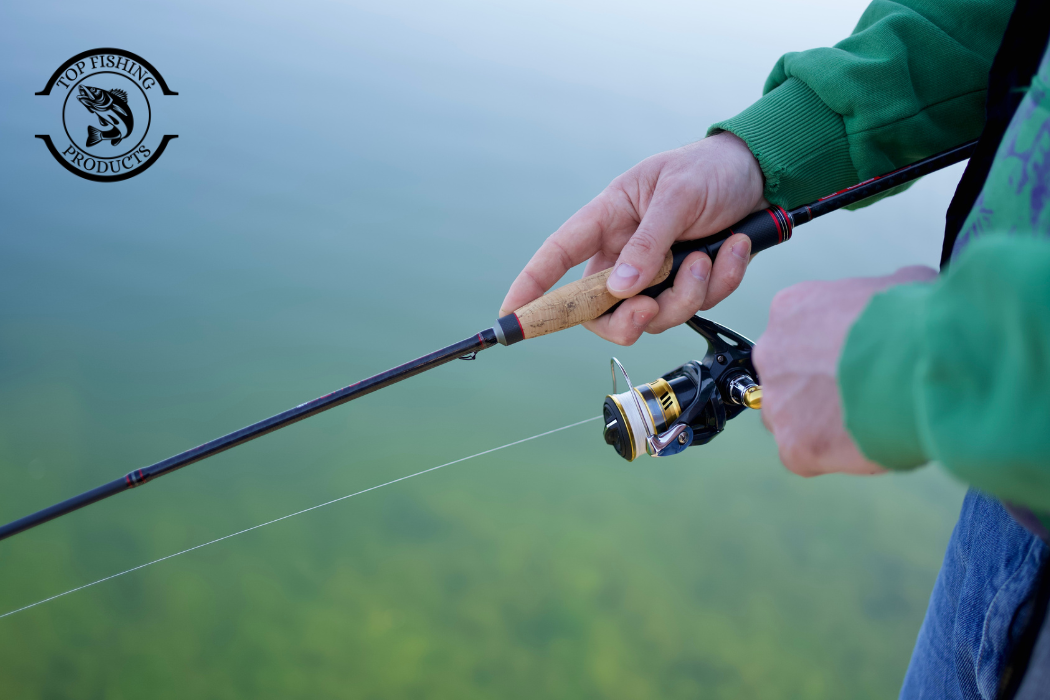
How to Respool a Spinning Reel
Respooling a spinning reel needs the right direction. This part is very important because wrong direction creates line twist. Line twist causes loops and knots when you cast. So follow the steps carefully and you will avoid problems.
Step 1: Open the Bail
The bail is the small wire on the spinning reel. You must flip it up. This opens the spool and lets you start winding new line. Many beginners forget this step but it is simple. Make sure it is fully open. This helps the line go onto the reel in a smooth way.
Step 2: Set the Line Spool in the Right Direction
Place the new line spool on the floor. The label should face up. The line must come off in the same direction as your reel turns. Turn your reel handle a few times to see which way the rotor spins. Match that direction with the line on the floor.
Step 3: Apply Tension on the Line
Use your fingers or a damp cloth to hold the line. This creates pressure so the line winds tight. Loose line causes trouble later. Hold the line gently but firmly. Make sure the cloth stays slightly wet so it does not burn your fingers.
Step 4: Start Reeling Slowly
Begin turning the handle. The line will start to wind around the spool. Go slow in the beginning. After winding a few times let the line go slack. If you see loops or twists you must flip the spool on the floor. This removes twist.
Step 5: Fill the Spool
Wind until the line reaches about one eighth of an inch from the top. Do not fill the spool fully. Too much line causes tangles. Too little line reduces casting distance. Stop when you reach the correct level.

Step 6: Cut and Secure the Line
When the spool is full cut the line. Use a small piece of tape to hold the line to the reel. You can also tie a lure at the end. This keeps the line from slipping back.
How to Respool a Baitcasting Reel
A baitcaster needs a different method. The new line spool must rotate freely. This means the line spool must turn like a wheel. It cannot just pull line from the side.
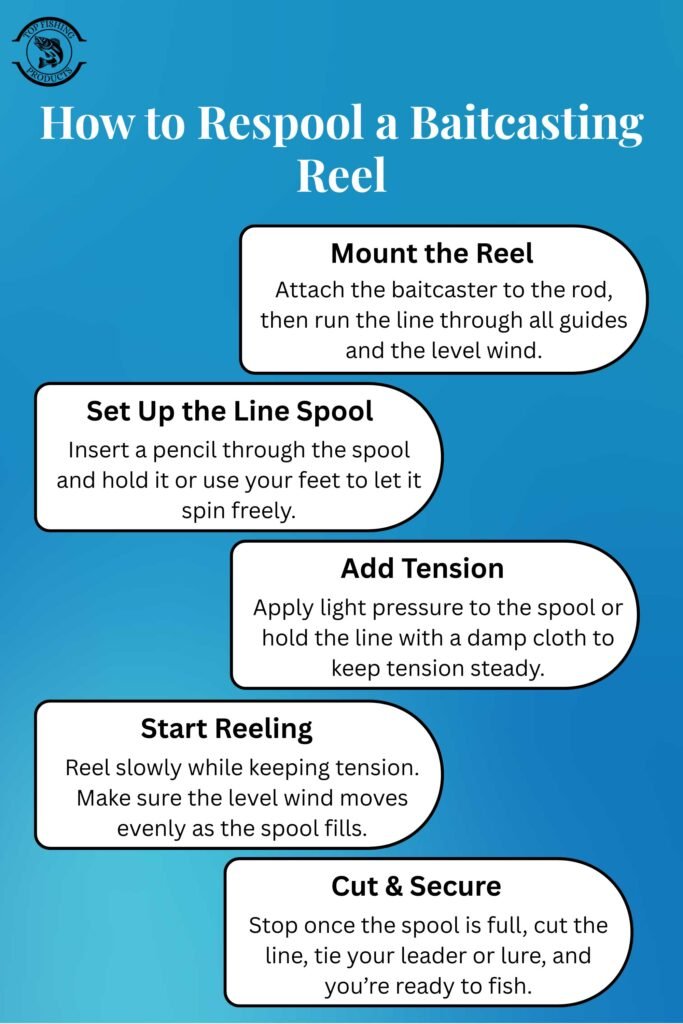
Step 1: Mount the Reel
Attach the baitcaster to the rod. This gives you control. Run the line through all the guides and through the level wind. The level wind moves right and left to guide the line.
Step 2: Hold the Line Spool on a Pencil
Put a pencil through the center of the new line spool. Ask someone to hold the pencil. If no one can help you use your feet or a simple tool. The line spool must spin when you reel.
Step 3: Apply Pressure
Tell your helper to press the spool lightly from the sides, this creates tension. If you work alone hold the line with a damp cloth and keep the pressure steady. This keeps the line tight on the reel.
Step 4: Start Reeling
Turn the handle and begin filling the spool. Make sure the level wind moves evenly. Keep the tension strong. Tight line prevents backlash later. Continue until the spool reaches the correct level.
Step 5: Cut and Secure the Line
Once full cut the line. Tie your leader or lure. This completes the process. Your baitcaster is now ready.
Tips to Avoid Line Twist
Line twist is the biggest problem for beginners. But you can avoid it with a few simple habits. Always match the direction of the line spool with the reel. Always keep pressure on the line while reeling. Do not reel too fast. Fast reeling makes loose loops.
If you see twist stop at once. Let the line hang short in the air. It will straighten itself. Continue after the twist is gone. Simple actions like these keep your line smooth.
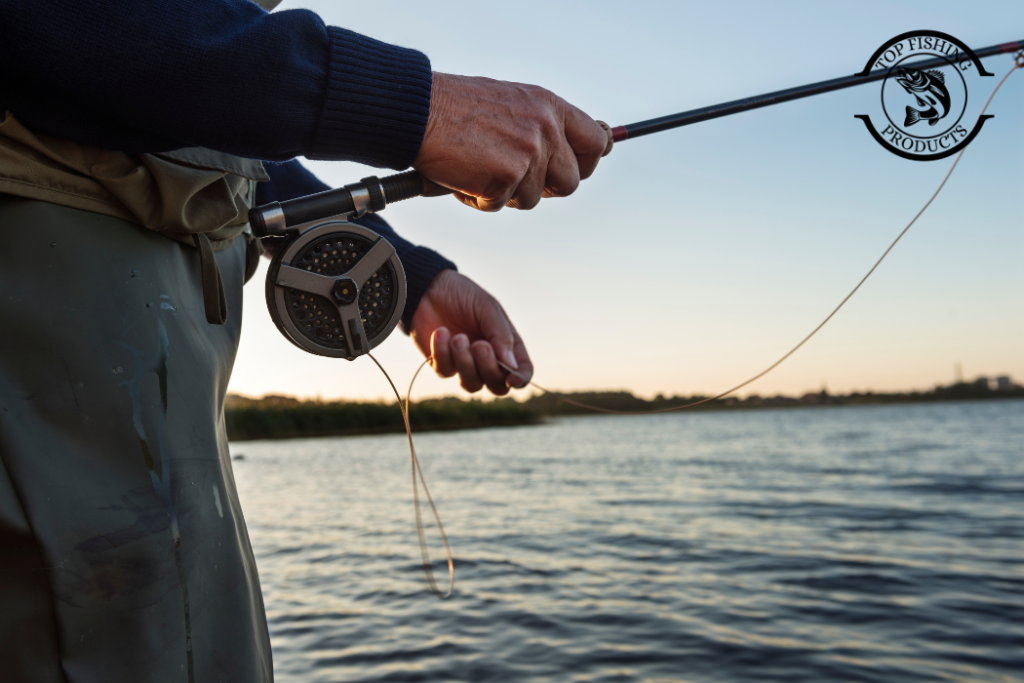
How to Respool a Fishing Reel by Hand
Some people don’t have right tools to fix fishing reel or respool. There is no need to worry about, you can still do it by hand. The right method is to respool a fishing reel with your hand is, just hold the line spool with your feet and keep it standing straight. You can use a cloth to pinch the line and start the reeling slowly.
You just need to focus on one point to maintain the pressure and don’t let the line slip or twist. This process need patience, but it actually works very well for the beginers. You only need to check the direction and tension more often. After some practice you will get used to it.
Final Check Before Fishing
When you finish respooling pull a few feet of line out. Check if it feels smooth. Reel it back. It should wind evenly. Shake the rod once to see if the line jumps. If it does jump you must remove some line. You want a smooth and tight spool.
This final check saves time on the water. It helps you fish without stress. It also protects your reel from damage. Take one minute for this step always.
Common Mistakes Beginners Make
Many beginners overfill the spool. This causes loops that jump off. Always leave a small gap at the top. Another mistake is winding the line too loose. Loose line creates problems when you cast. Keep pressure steady from start to end.
Some people forget to check twists. Twist grows slowly but after a few minutes it becomes a problem. Check your line after every few turns. Fix small twists early before facing other problems.
Conclusion
How to respool a fishing reel is very simple process, if you follow the right steps and techniques. You need to start with removing the old line and tie a new line. The biggest success is to keep the directions and tensions correct. If you do the right directions between start your reel works better and your fishing journey becomes easier. You need to practice once a twice in a week. It will help you to fix any reel without fear. Be practical and follow the above guidelines to be expert.
Frequently Asked Questions:
1. How often should I respool a fishing reel?
If you fish often you should respool every one to two months. If you fish sometimes you can respool every three to six months. Sun and use weaken the line fast.
2. Should I soak my fishing line in water before respooling?
Some people soak monofilament line for a few minutes. It makes the line softer. This helps it wind better. It is not needed for braid.
3. Can I mix old line with new line?
No. Old line is weak and can break. Always remove all old line. Start with a clean spool for best results.
4. Why does my line twist when I cast?
Your line twists when you put it on in the wrong direction. It also twists when tension is too low. Follow the right direction steps in this guide.
5. How full should my spool be?
Fill the spool until it is one eighth of an inch from the top. This is the best level for smooth and long casts.