Every angler has a story about fish that got away. More often, the culprit is not the rod, the reel or even the bait. It’s the knot that slipped, broke or not tied properly. In fishing, the knot has a great connection between you and the fish.
The good news is that tying strong, reliable fishing knots isn’t as complicated as it seems. You don’t need to memorize different knots or spend time mastering advanced techniques.
In this guide, you’ll discover how to tie knots properly and securely with easy-to- follow instructions, learn which knots work best for fishing lines and tackle, avoid the most common knot-tying mistakes and pick up practical tips that will help you fish with greater confidence. Whether you’re a beginner tying your first hook or an experienced angler looking to improve knot strength, these techniques will help ensure your connection holds when the fish of a lifetime is on the line
Why Knot Strength Matters More Than People Think
Most anglers assume their line is the weakest part of the setup. In reality, the knot is almost always the weak point. Fishing line loses strength wherever it bends sharply, and a knot forces the line to bend. A properly tied knot keeps that strength loss to a minimum. A sloppy one can cut the line’s strength in half or more.
This is why two anglers using the exact same rod, reel, and line can have completely different results. One loses fish after fish. The other rarely does. The difference usually comes down to how the knot was tied, not the gear itself.
For example, a 10-pound test line tied with a clean, well-seated knot might retain close to 90 percent of its rated strength. The same line tied poorly, with twists or an unfinished cinch, might only hold 50 percent. That gap becomes obvious the moment a solid fish makes a hard run.
Basic Fishing Knots Every Angler Should Know
Before diving into technique, it helps to understand which knots actually get used the most on the water. New anglers often feel overwhelmed by knot charts, but in practice, a small set of basic fishing knots handles nearly every situation.
The Improved Clinch Knot
This is the knot most beginners learn first, and for good reason. It attaches your line to a hook, lure, or swivel, and it holds up well across a wide range of line types.
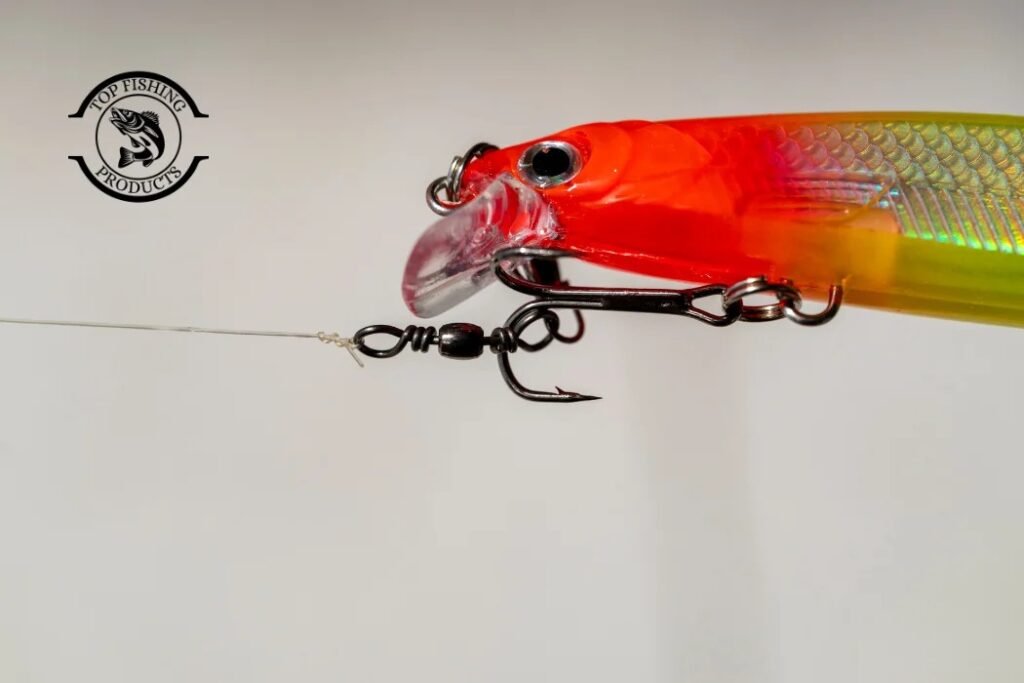
To tie it, thread the line through the eye of the hook or lure. Wrap the tag end around the standing line five to seven times, depending on line thickness. Thinner line needs more wraps, while thicker line needs fewer. Pass the tag end back through the small loop formed near the eye, then through the larger loop you just created. Moisten the knot before pulling it tight, then cinch it down slowly and evenly.
The improved clinch knot works well for monofilament and fluorocarbon under 20-pound test. However, it starts to lose reliability with heavier lines or braided line, which brings us to the next option.
The Palomar Knot
Many experienced anglers consider this the strongest and most foolproof connection for tying line to hooks and lures. It is also one of the easiest to tie correctly, even in low light or cold weather.
Double about six inches of line and pass the loop through the hook eye. Tie an overhand knot with the doubled line, keeping it loose for now. Then pass the hook through the loop at the end of the doubled line. Moisten everything, then pull both the tag end and standing line to cinch it down.
The Palomar knot is a favorite for braided lines specifically because the braid is slippery and prone to slipping out of knots that were designed with monofilament in mind. This knot’s structure locks down tightly regardless of line type, which is why so many guides recommend it as the default choice.
The Uni Knot
Few knots are as versatile. The uni knot can attach a line to a hook, connect two lines of similar diameter, or even serve as a tool for adjusting line length while playing a fish, thanks to something anglers call the “slider” version.
Run the tag end through the eye, then back alongside the standing line to form a loop. Wrap the tag end around both lines four to six times inside that loop. Pull the tag end to snug the wraps together, then pull the standing line to slide the knot down to the eye.
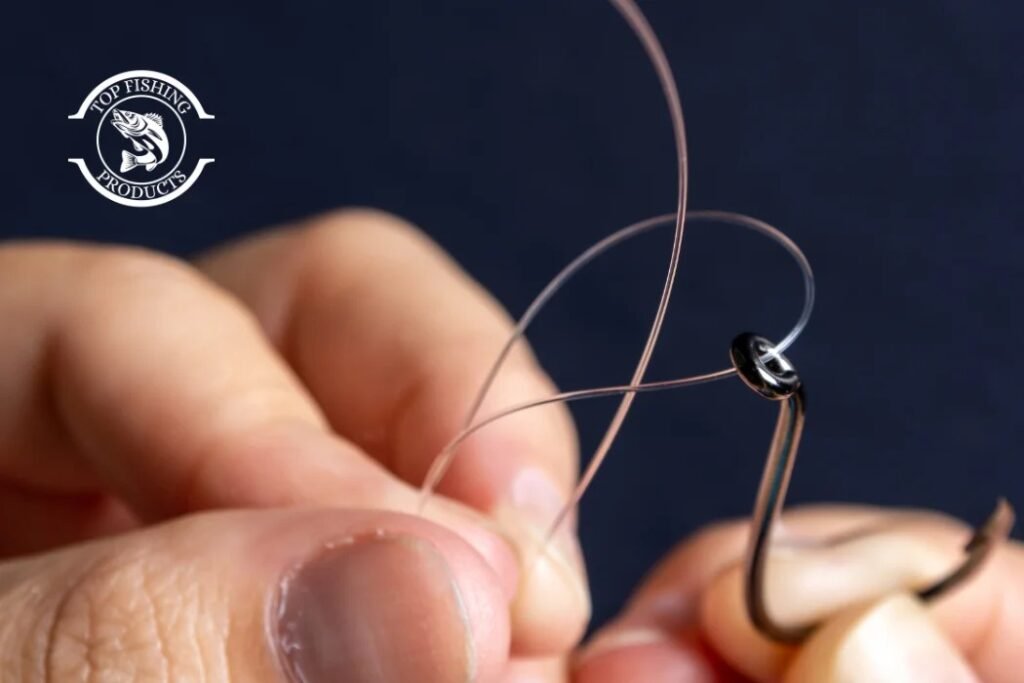
Because it works for so many purposes, this is often the first knot serious anglers reach for when they need a dependable, all-around connection.
The Double Uni Knot
When two lines need to be joined, such as connecting a fluorocarbon leader to braided main line, the double uni knot is a common answer. It is essentially two uni knots tied against each other, interlocking to form one connection point.
Overlap the two lines by about a foot. Tie a uni knot with one line around the other, then tie a second uni knot with the second line around the first. Pull both knots snug individually, then pull the two standing lines apart to slide the knots together into one solid connection.
This knot handles the tension of two different line materials well, which matters because monofilament, fluorocarbon, and braid all behave differently under pressure.
How To Tie A Knot In Fishing Line For Beginners
If you are brand new to fishing, the technical instructions above can feel like a lot at once. Here is a simpler way to approach learning your first knot.
Start with the improved clinch knot. It only requires practice with wraps and one loop, which makes it forgiving for shaky hands. Practice at home with an old hook and a few feet of line before ever taking it to the water. Tie the knot slowly at first, checking each wrap before moving to the next step.
In addition, practice moistening the knot before pulling it tight. This single habit prevents more knot failures than almost anything else. Dry friction from pulling a knot tight generates heat, and that heat weakens the line right where you need strength the most.
Once the clinch knot feels natural, move on to the Palomar knot. Many beginners actually find it easier once they understand the basic motion of doubling the line and passing the hook through the loop.
Fishing Line Knot Techniques That Improve Reliability
Knowing which knot to tie is only half the equation. How you tie it matters just as much. A handful of techniques separate knots that hold from knots that fail under pressure.
Moisten before tightening. Saliva or water reduces friction during the final pull. Skipping this step is one of the most common reasons knots snap.
Tighten slowly and evenly. Yanking a knot tight quickly can cause uneven wraps to bunch together instead of seating properly. A slow, steady pull allows the coils to settle against each other.
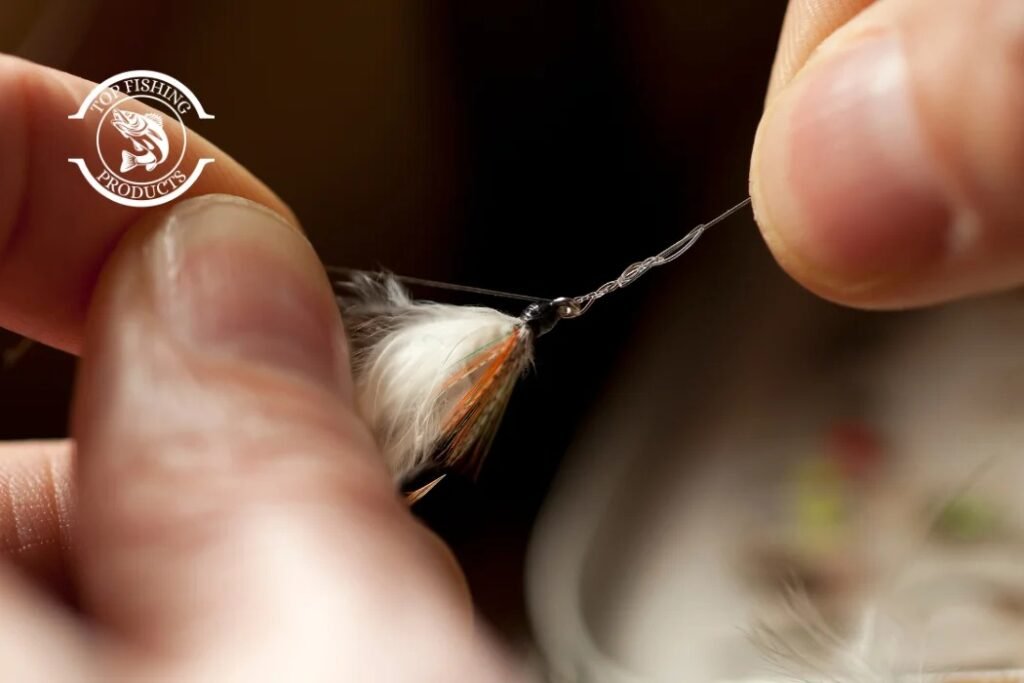
Trim the tag end correctly. Leave about an eighth of an inch of line after the knot. Cutting too close risks the knot slipping loose over time. Leaving too much tag end can catch weeds or debris or even snag on rod guides during a cast.
Test every knot before fishing. Give the line a firm tug after tying. If a knot is going to fail, it usually reveals a weakness immediately rather than waiting for a fish to find it.
Match the knot to the line type. Braided line and fluorocarbon behave differently than monofilament. A knot that holds fine in mono might slip in braid because braid has almost no stretch and a slicker surface.
Common Fishing Knot Mistakes And How To Avoid Them
Even experienced anglers fall into habits that weaken their knots without realizing it. Recognizing these mistakes is the fastest way to fish with more confidence.
Not enough wraps, or too many. Thin line needs more wraps to create enough friction. Thick line needs fewer, since too many wraps on heavy lines prevents the knot from cinching down tightly. As a rough guide, five to seven wraps works for most 8 to 15-pound test lines, while three to four wraps is often enough for 20-pound test and above.
Pulling the knot tight without moisture. As mentioned earlier, dry friction creates heat damage that is invisible until the knot fails at the worst possible time.
Rushing the final cinch. A knot pulled tight too quickly often has wraps that overlap unevenly. This creates weak points that are not visible just by looking at the knot.
Using old or damaged line. Line that has been sitting on a reel for a season or two, especially in direct sunlight, becomes brittle. Even a perfectly tied knot cannot compensate for a line that has already lost its strength.
Ignoring line memory. Line that has been coiled tightly on a spool for a long time develops memory, meaning it wants to curl. This makes wraps harder to control and can result in knots that look fine but are not seated properly.
Cutting the tag ends too short. This is a subtle mistake. When the tag end is trimmed flush against the knot, there is no margin left if the knot slips even slightly under tension.
Choosing The Right Line For Easier Knot Tying
Some line types are simply easier to tie knots in than others, which matters for beginners still building confidence.
Monofilament is the most forgiving option. It has some stretch, which helps knots seat more evenly, and it is less slippery than fluorocarbon or braid. This makes it a smart starting point for anyone still learning basic fishing knots.
Fluorocarbon is stiffer and more prone to slipping if knots are not cinched properly. However, it offers better abrasion resistance and near-invisibility underwater, which is why many anglers switch to it once their knot-tying skills improve.
Braided line has virtually no stretch and a very slick surface. Knots that work fine in monofilament can slip right out of the braid. This is exactly why knots like the Palomar are recommended specifically for braided applications, since their structure locks down regardless of surface slickness.
Knot Comparison At A Glance
| Knot | Best Use | Difficulty | Line Type Suited For |
| Improved Clinch | Attaching hooks and lures | Beginner | Monofilament, light fluorocarbon |
| Palomar | Attaching hooks and lures | Beginner | Braid, monofilament |
| Uni Knot | Versatile, multiple uses | Beginner to Intermediate | All line types |
| Double Uni Knot | Joining two different lines | Intermediate | Braid to fluorocarbon leader |
When Knots Fail: Troubleshooting On The Water
Even a well-practiced angler occasionally loses a fish to a knot failure. When this happens, it helps to figure out why rather than just retying the same way and hoping for a better outcome.
If the line breaks with a curl at the end, similar to a small pigtail, that is a clear sign the knot slipped rather than the line snapping under straight tension. This usually points to insufficient wraps, a dry knot pulled too fast, or not enough moisture during tightening.
If the line breaks clean and straight, the knot likely held, and the failure came from abrasion, a nick in the line, or a hook set against something sharp, like structure or a fish’s teeth.
Meanwhile, if knots keep failing across multiple attempts with the same line, the line itself may be old, sun-damaged, or simply the wrong strength for the fish being targeted. As a result, switching to a fresh line often solves a problem that felt like a knot-tying issue but was never really about the knot at all.
Practicing Knots Before You Need Them
Tying knots calmly at a kitchen table is very different from tying them with cold hands, low light, and a fish already on the line. This is why practicing at home pays off so directly on the water.
Spend ten minutes a few times a week tying the same knot until it becomes automatic. Use an old hook, since the goal is muscle memory, not results. Over time, tying a secure knot becomes something you do without thinking, which matters most in the moments when a fish is testing every inch of your setup.
Final Verdict
Learning how to tie fishing knots properly and securely is not about memorizing every knot that exists. It is about mastering a few reliable ones, understanding why they work, and building the habits that prevent failure. Moisten your knots, wrap them the right number of times for your line, and take the extra few seconds to tighten slowly and test before casting. These small habits matter more than expensive gear ever will, and they are exactly what keeps a good fish on the line instead of swimming away with your hook.
Frequently Asked Questions
How many times should I wrap the line when tying a knot?
This depends on line thickness. Lighter lines typically need five to seven wraps, while heavier lines need only three to four to cinch down properly.
What is the strongest fishing knot for beginners?
The Palomar knot is widely considered one of the strongest and easiest knots for beginners to learn, since it holds well across both monofilament and braided lines.
Why does my line keep slipping even when I think I tied the knot correctly?
This is usually caused by tightening the knot too quickly, without moisture, or using too few wraps for the line’s diameter. Braided line especially requires knots designed to grip its slick surface.
Does knot choice matter for different fish species?
Yes. Species that make hard, fast runs or have abrasive mouths, like larger predatory fish, benefit from knots and leader materials built for extra strength and abrasion resistance.